7 Must-Dos for a Perfect Christmas Tree
With the Christmas season right around the corner, it’s time to start thinking about a holiday staple: that perfect Christmas tree. While we all want a tree that makes our home look beautiful, decorating the “perfect” tree can be a daunting task. And from too-tall trees to broken lights, it seems like the problems can really pile up. That’s why we’ve figured out how to get perfect Christmas tree into seven easy steps. With these ideas, you can banish holiday tree woes and focus on spending time with friends and family in your beautifully decorated home!

Measure, Measure, Measure
Get your tree height right the first time (and prevent any scratches on your ceiling from too-big Christmas trees) by measuring the area where the tree will go. Subtract the height of the stand and the height of the tree topper from the height of the ceiling to figure out the perfect tree height. Measure the area of the tree stand so you know how wide the tree trunk can be. And don’t forget to measure the depth of the space! Stand where the tree stand will be, and measure out to any surrounding walls so you know exactly how wide it can be. Then, remember to take the tape measure with you to the store or tree farm to make sure you can find the perfect fit.
Prime Live Trees for Success
Getting a live tree this year? After you’ve chosen the perfect tree, cut off about an inch of the trunk or have the lot do it for you. This opens up the veins that deliver water to the rest of the tree and gets rid of the old pitch that’s blocking water from traveling up the trunk. This will help your tree last much longer!
Keep The Tree Hydrated
If you have an artificial tree, don’t worry about this step. But if you’re invested in sweet-smelling evergreen needles this year, make sure to keep the tree stand filled with clean water. It’s especially important to keep an eye on the water levels in the tree stand during the first few days, when the tree is especially thirsty and drinking up a ton of water. A hydrated tree is a tree that stays green and fresh-smelling; plus, it will shed fewer needles, which means less vacuuming!
A Little Prep Work Goes a Long Way
Before you start decorating, avoid a crisis later in the day by preparing all your supplies ahead of time. Plug in the lights to make sure there aren’t any burnt-out bulbs or faulty wiring. Get out the hooks you have, and make sure there’s enough to decorate the whole tree without running out. If the tree is on hardwood floors or tile, think about spreading out some rugs around the tree to help prevent fallen ornaments from breaking.
String Lights like a Pro
If you don’t have a pre-lit Christmas tree, lighting can be one of the trickiest steps. However, it can also make your tree look its very best. You actually want to wrap lights on both sides of the branch; start by stringing them underneath each branch, and then looping the lights around the top of the branch and going all the way back to the other side. When you get to the top of the tree, start stringing the lights on top of each branch and then looping them underneath. It can be a more time consuming process, but it will make your tree look amazing.
Decorate Strategically
When decorating the tree, take a tip from the pros while hanging ornaments. The trick? Put on large, shiny, and attention-grabbing ornaments first, and then fill in the gaps with smaller and less flashy ornaments. This builds the entire layout of the tree around these attention-grabbing ornaments, which makes anybody’s tree look professionally done. Another trick is to utilize the depth of the tree. Hang plainer ornaments farther inside the tree to create a beautiful, layered look.
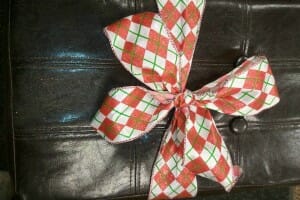
Don’t Be Afraid of DIY
Christmas tree ornaments don’t have to be expensive; some of the most meaningful decorations are the ones we make ourselves. Try coating pine cones in glue, dipping them in glitter, and tying a loop of string around the top. These make great “filler” ornaments at almost no cost! Or, coat plain glass ornaments in glue, roll them in glitter, and shake the glitter off over a sink or outside. If you have ribbons lying around the house from crafts or sewing, weave those through the branches for a simple and classy addition.
More from Ginny's Recipes & Tips

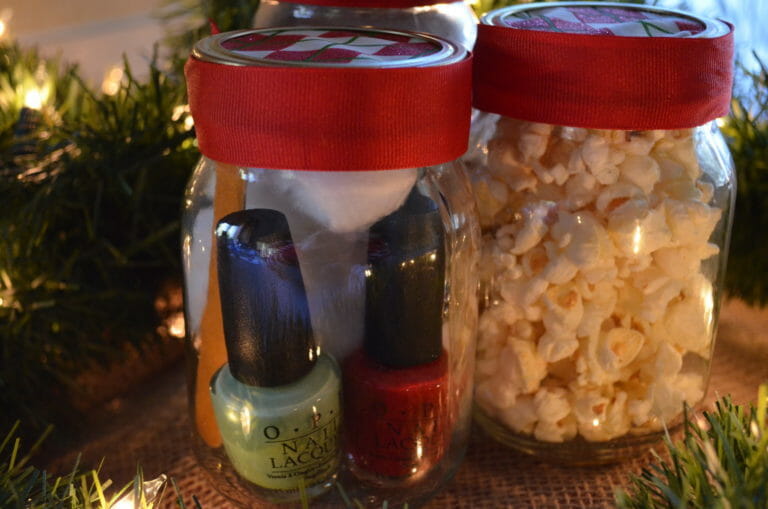
Clever Christmas Gift Idea: Fill a Canister or Jar!


Comments (3)
Tom wheeler
This site was very informative, I thought I knew how to make a tree look very decorative but decided to follow the 7 tips given, and what a difference it was.
Cathy
“Decorate Strategically” will help me decorate my artificial tree to look like a pro did it! Thanks Ginny this site is definitely one I will be using.
Cathy
HELEN White
Anxious to peruse this site. Thanks.
Helen