How to Make Your Own Pumpkin Puree
The most delicious pumpkin pies in the world are always made with homemade pumpkin puree; that’s why we’re going to show you, step by step, how to make your own pumpkin puree! Homemade pumpkin puree is surprisingly easy to make, and comes in handy for all sorts of pumpkin recipes like muffins, bread, cookies, and more.

A couple of helpful hints before we start:
- At the grocery store, purchase “pie pumpkins,” also known as “baking pumpkins.” These tend to be smaller and denser than decorative pumpkins, which lessens the risk of weird textures and flavors.
- Storing pumpkin puree is easy-peasy, which means you can make it any time that’s convenient–even during the summer! Just scoop it into a freezer bag, smash the freezer bag flat so the pumpkin puree is in an even layer, and stick it in the freezer. Homemade pumpkin puree can be used right away, kept in the refrigerator for up to two days, or stored in the freezer for six to eight months.
- When you’re ready to use the frozen homemade puree, thaw it in the refrigerator before using it. It might be a little runnier than canned pumpkin puree, so you might need to strain it depending on the recipe.
Now grab your pie pumpkins and get ready to learn how to make your own pumpkin puree!
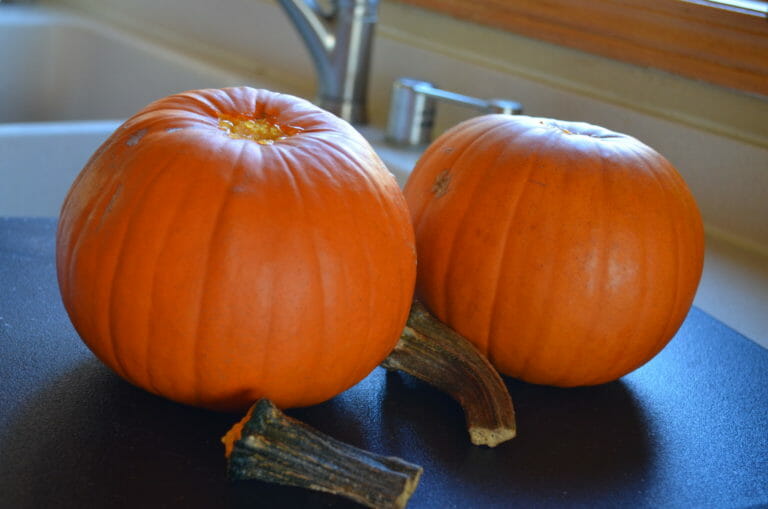
1.) Wash and snap off the stems of the pumpkins.
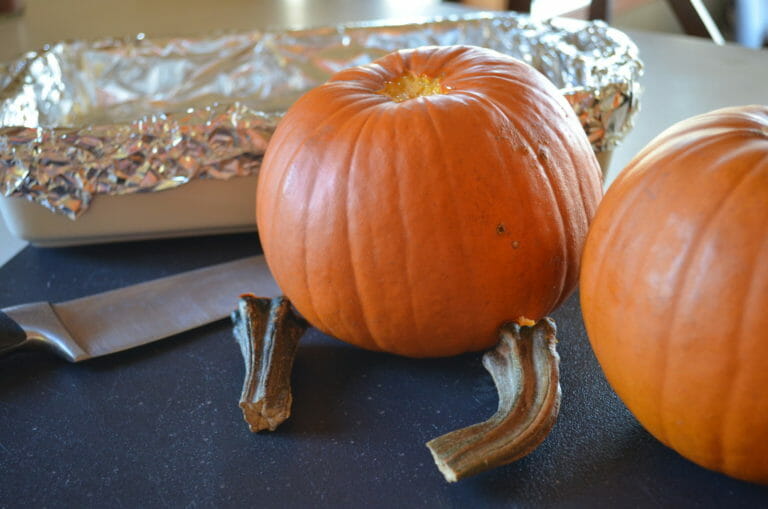
2.) Line a baking pan with aluminum foil. This is important because the pumpkins will release juices as they cook, and you don’t want a mess in the baking pan!
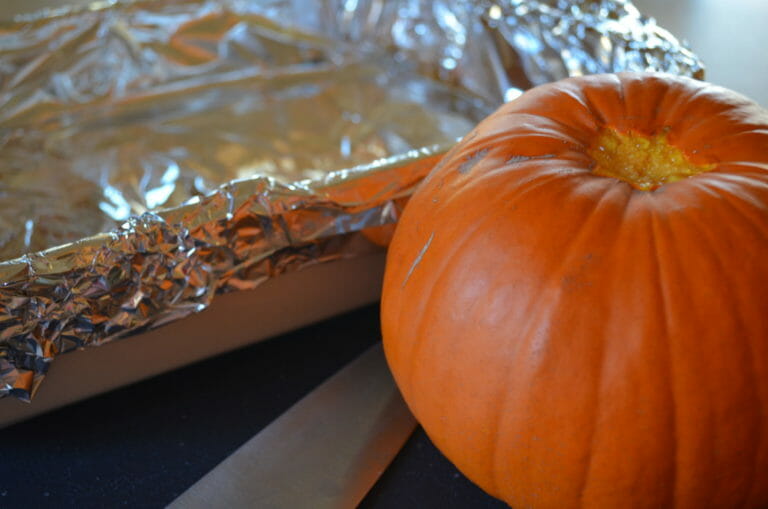
3.) Puncture the skin of each pumpkin multiple times with a knife. This helps release steam once the pumpkin starts baking.
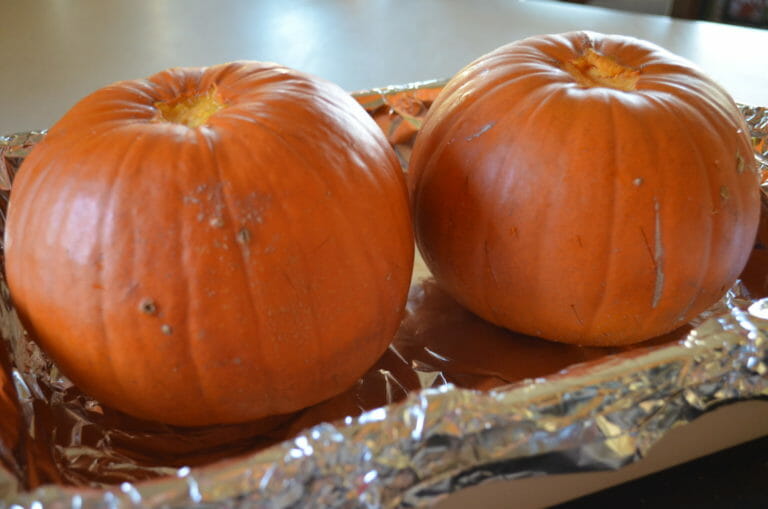
4.) Place the pumpkins in the lined baking pan.
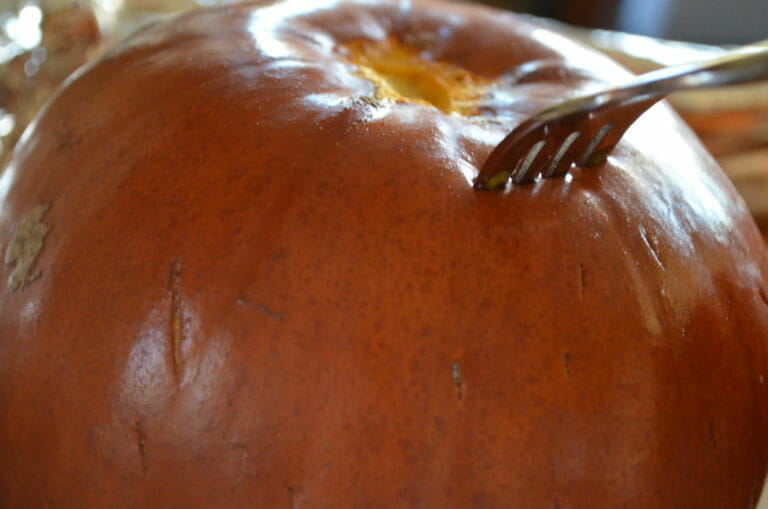
5.) It’s time to put the pumpkins in the oven! Bake them at 350 degrees for about an hour. After an hour, check to make sure the pumpkin is completely cooked. If it’s done, the insides will fall away from the skin of the pumpkin and you’ll easily be able to poke a fork into the pumpkin.
7.) Once they’re done baking, carefully transfer the pumpkins from the baking pan to a cutting board.
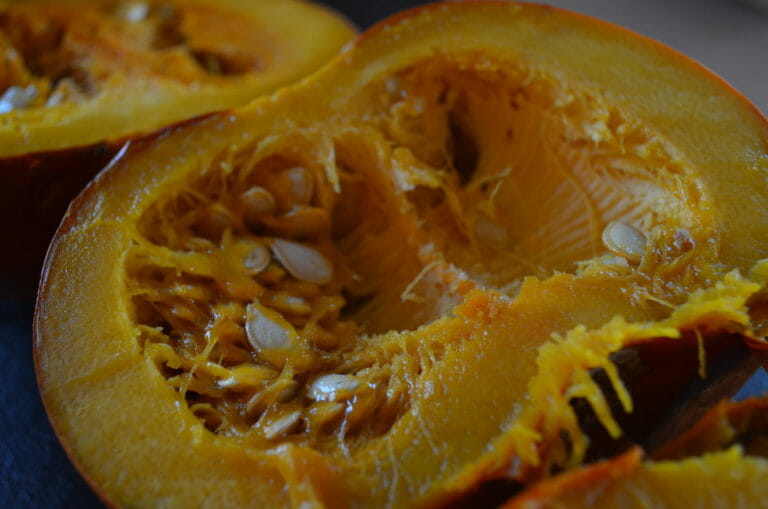
8.) Cut the pumpkins in half. Now that they’re baked, this will be easy!
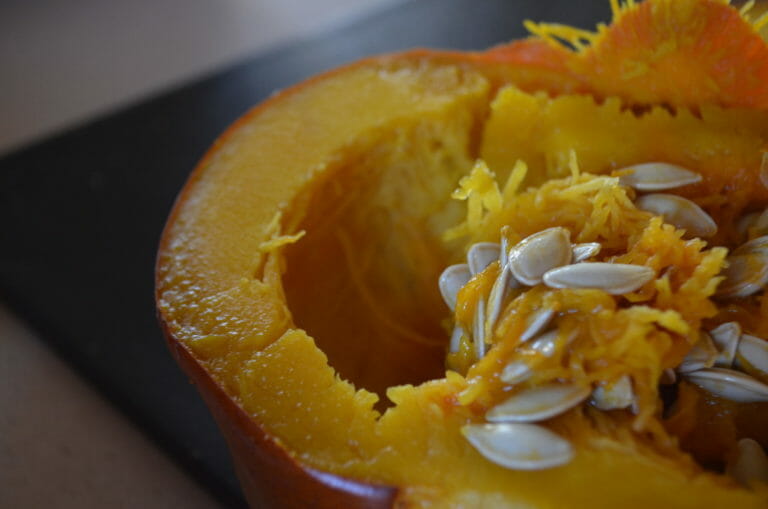
9.) Scoop seeds and guts from the pumpkin halves, leaving just the meat of the pumpkin. We recommend saving the seeds to roast for a yummy snack!
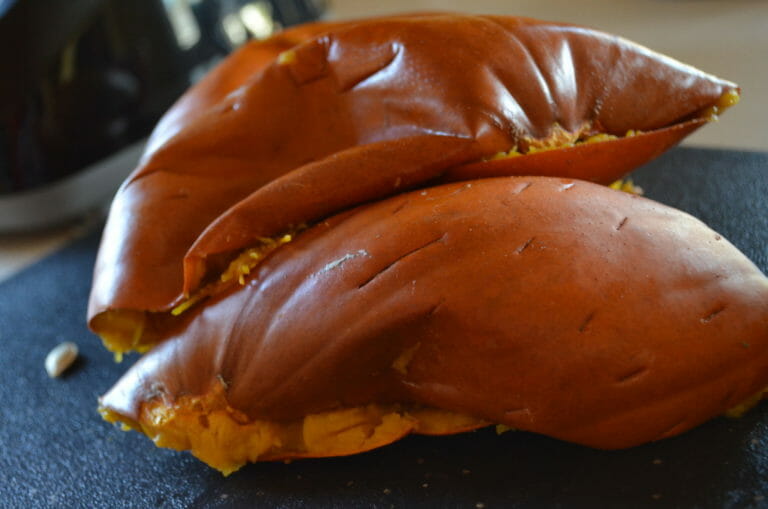
10.) Scoop the meat of the pumpkin out of the skin and into a food processor.
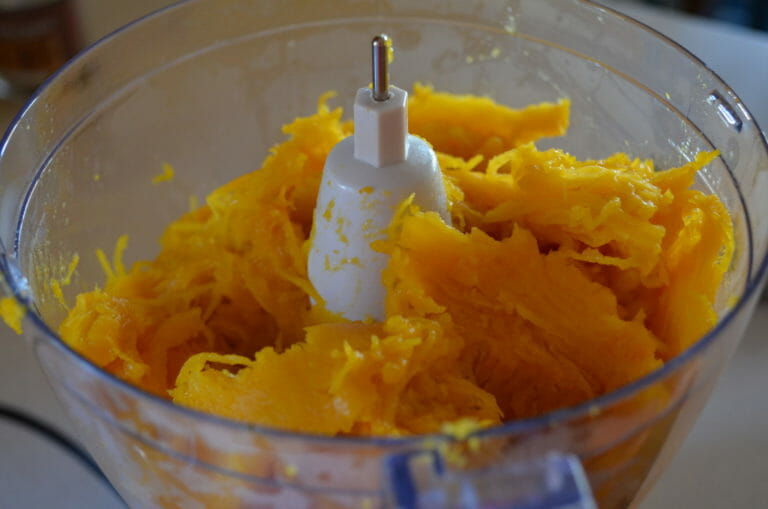
11.) Puree the pumpkin meat until it’s smooth. If you think it’s a little too dry, add a few tablespoons of water. Or, if it seems a little too watery, strain it with a fine mesh strainer or a cheesecloth to get the excess liquid out. The moisture level can vary depending on the pumpkin and your preferred type of puree.
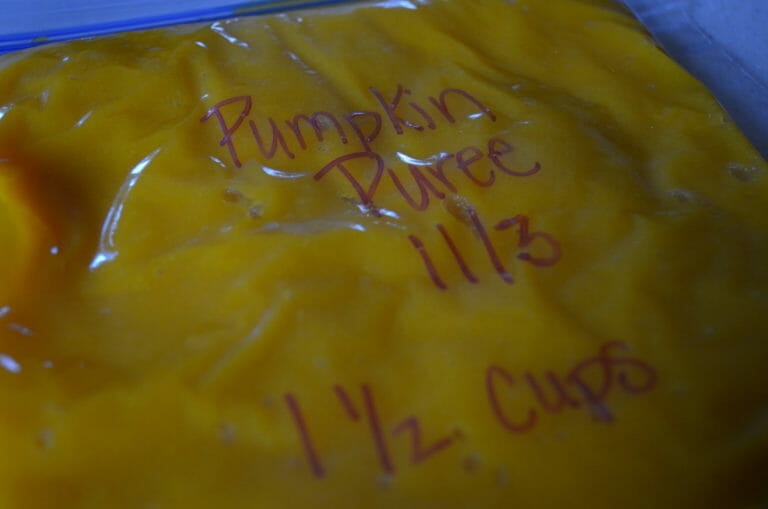
12.) Get out some freezer bags and label them with the date and the amount of pumpkin in the bag. We recommend 1.5 cups per bag, similar to the portion in a store bought can. That way, when you’re making pie or muffins, you can just grab a bag from the freezer without worrying about measuring. Scoop the homemade pumpkin puree into bags.
Now you’re ready for a delicious fall pumpkin season!



Comments (2)
SellenaAnnJohnson
Delicious and I mean it.
Nelida Calderon
A few months ago I got a recipe from Ginnys, for a pumpkin bread. I lost it and tried to find it again in Ginnys catalog, but the one listed in catalog is not the same. The one I had called for instant lemon pudding and instant butterscotch pudding. It also called for 5 eggs instead of 4. Is it possible to get is recipe? Thank you for your assistance.