Pumpkin Carving Tips and Ideas
Carving pumpkins takes many of us back to when our kids were little and the looks on their faces when they dug their hands into the pumpkin’s stringy insides for the first time. It also reminds us of the mess that pumpkin carving can leave behind. Luckily, we have some tips and tricks for easy carving using common kitchen utensils that you can use with your kids and grand kids!
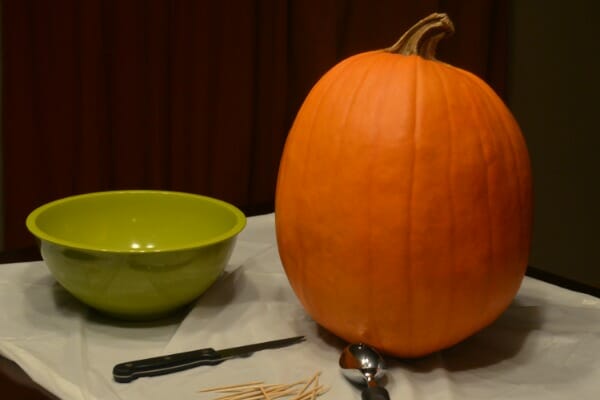
Before digging into the pumpkin…
- Gather all of the tools you plan to use. We used a garbage bag, mixing bowl, serrated knife, ice cream scoop, potato peeler, and tooth picks. Gathering all of the utensils before you get started will save time and minimize hand washing since you won’t have to keep digging into kitchen drawers for more tools.
- Turn the garbage bag inside out and use it as a work surface. When you are finished scraping the sides of the pumpkin, we will show you how to turn it inside right for easy clean up!
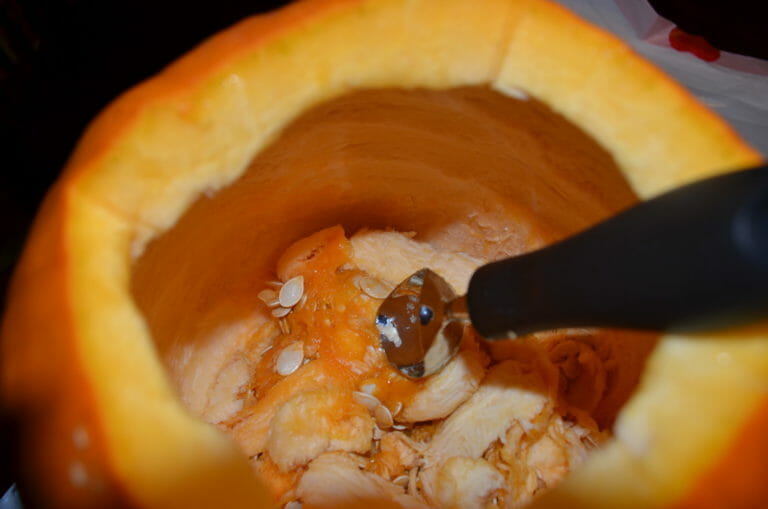
Use a serrated kitchen knife to cut the top out of the pumpkin, then…
- Scrape the stringy pulp and seeds from the sides and bottom with an ice cream scoop.
- Use a permanent marker or pen to mark out the design you plan to cut.
- Carefully use the serrated knife to cut out the design.
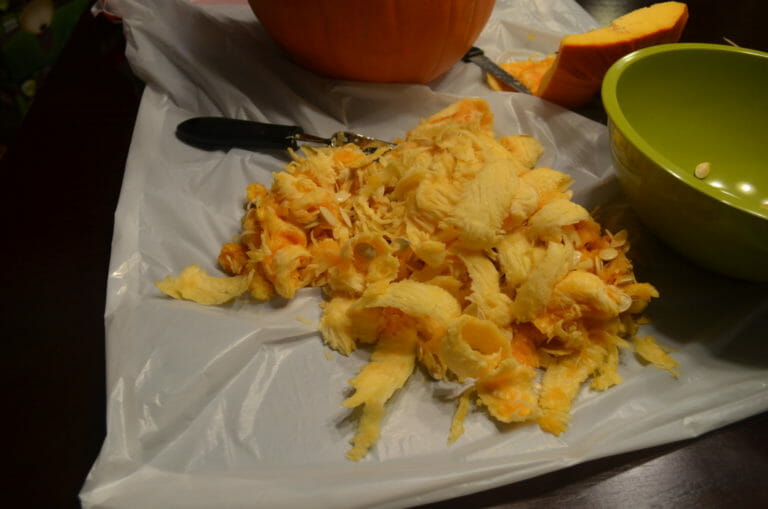
- Dump the pulp towards the bottom of the garbage bag.
When you’re finished cleaning out the pumpkin…
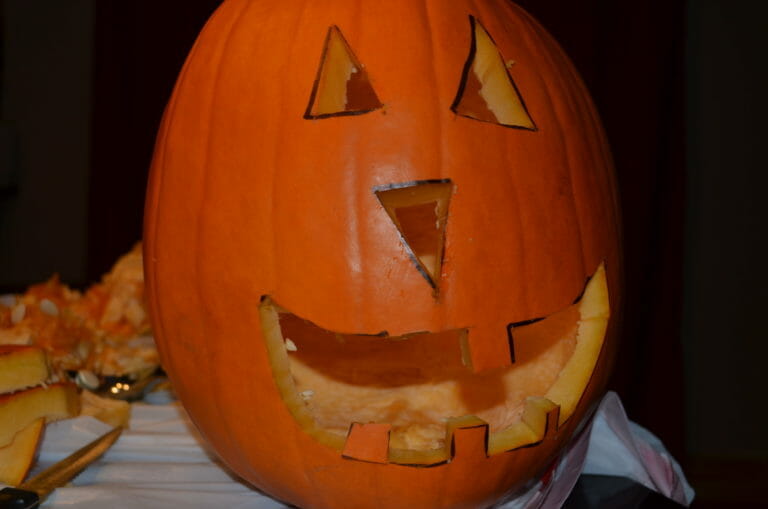
- A potato peeler can be used to help clean and trim out the curved parts of the pumpkin so more light can shine through.
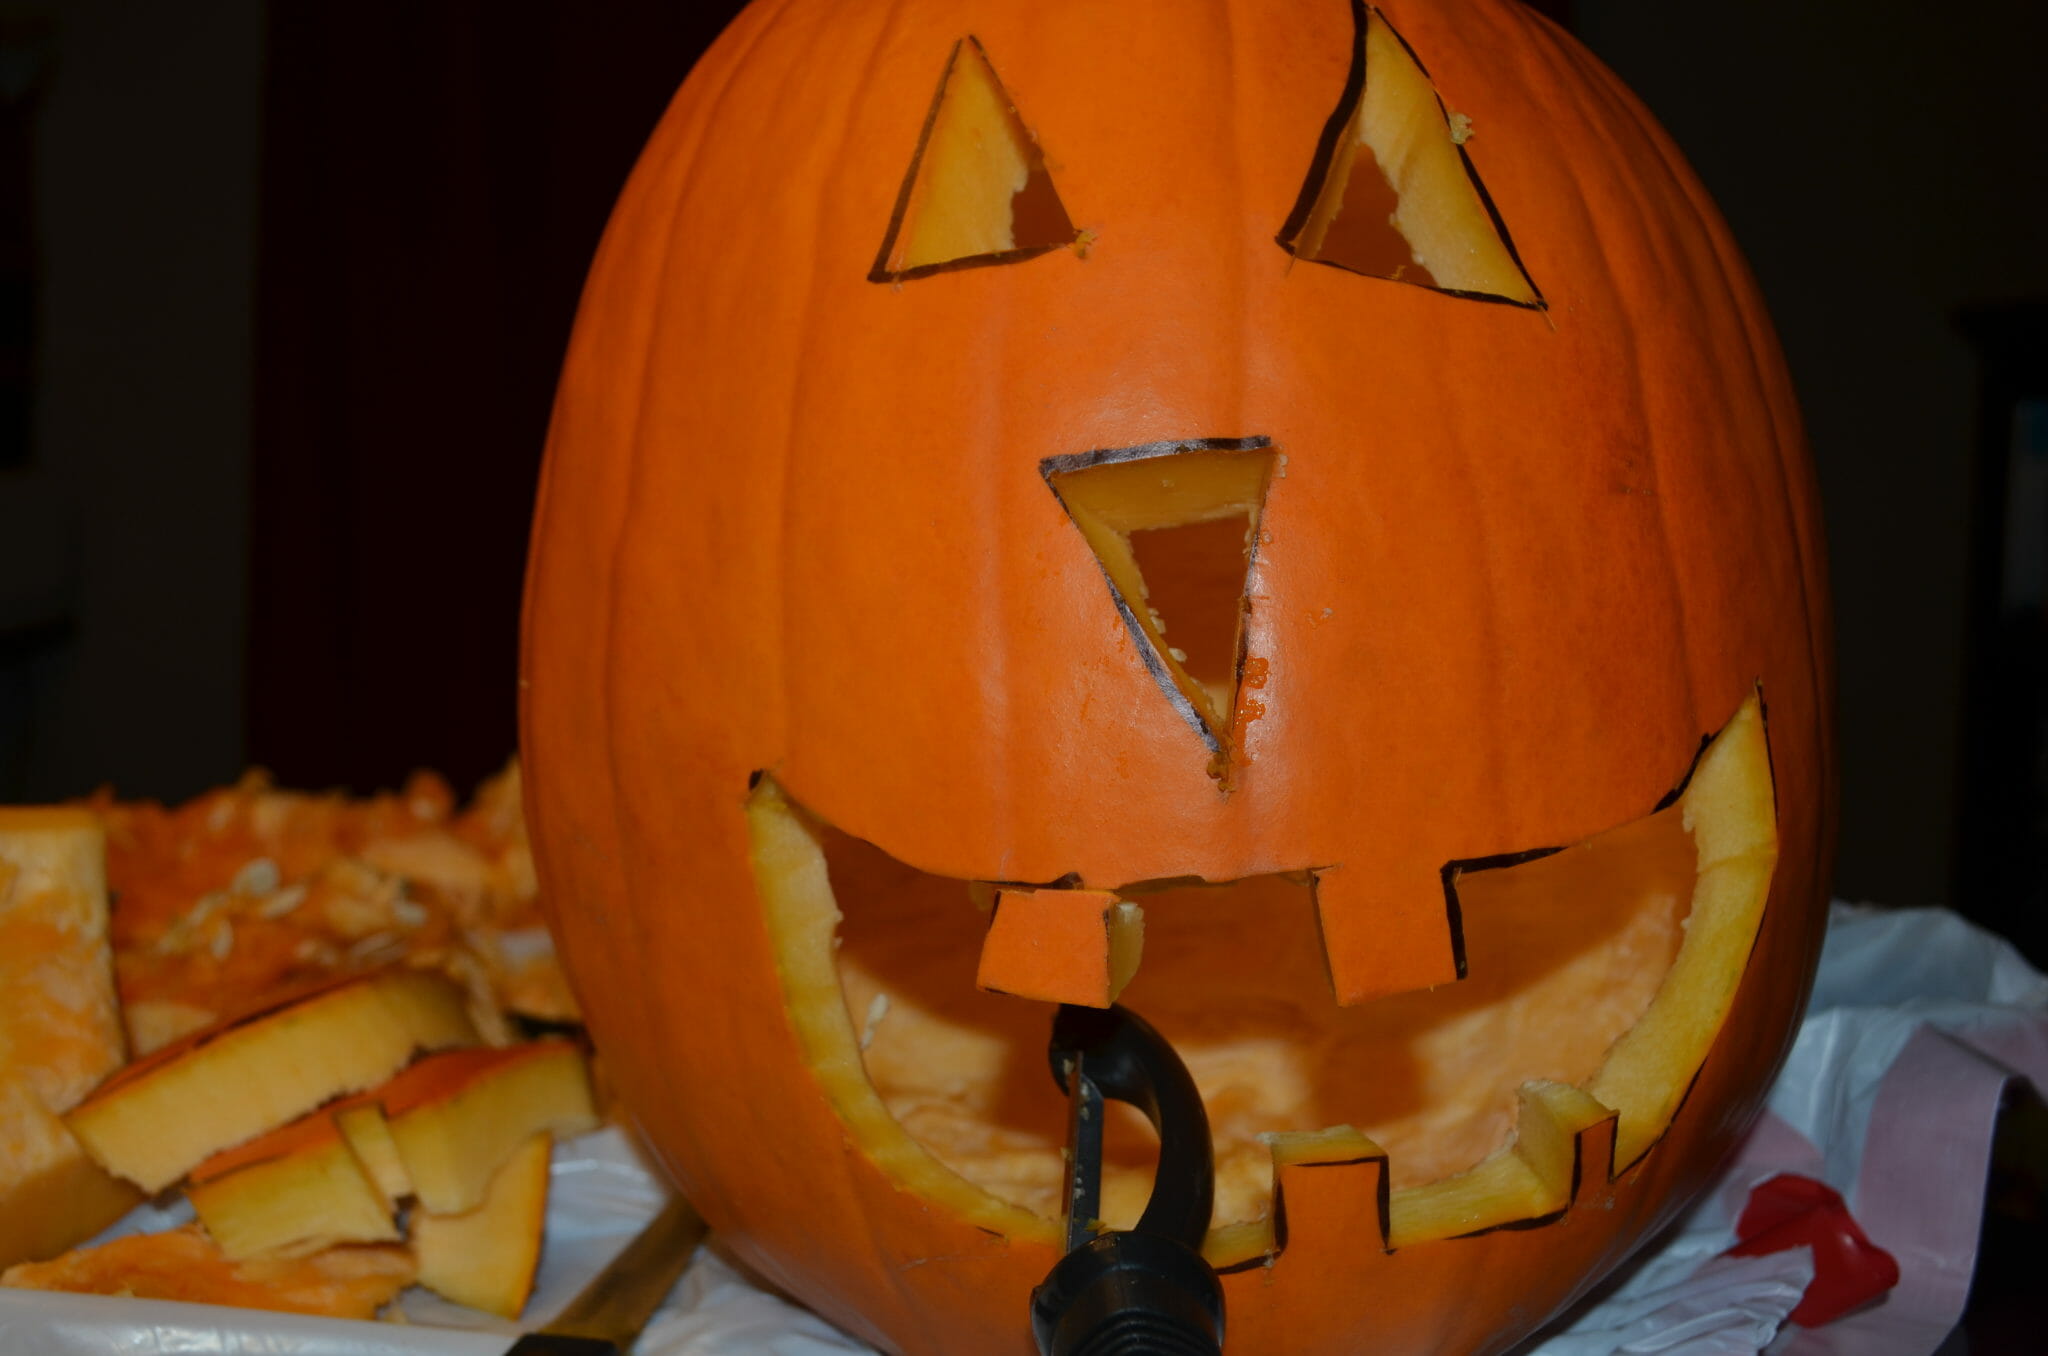
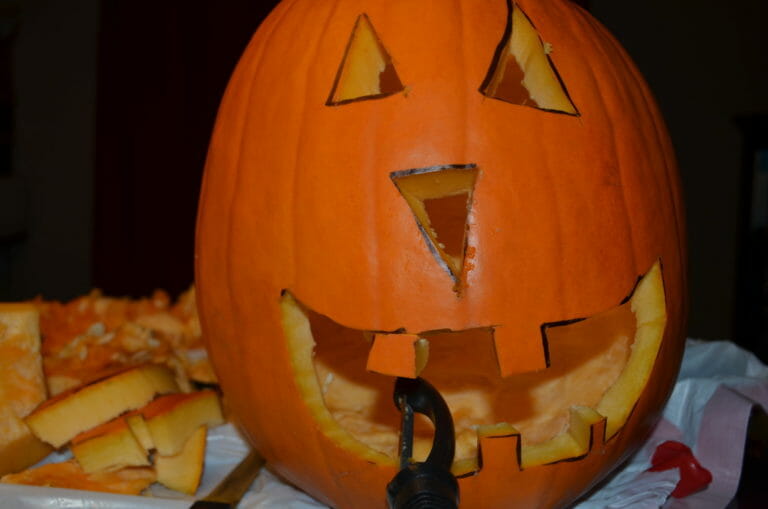
After the pumpkin is carved…
- Toothpicks can be used as pegs to reattach accidentally removed sections.
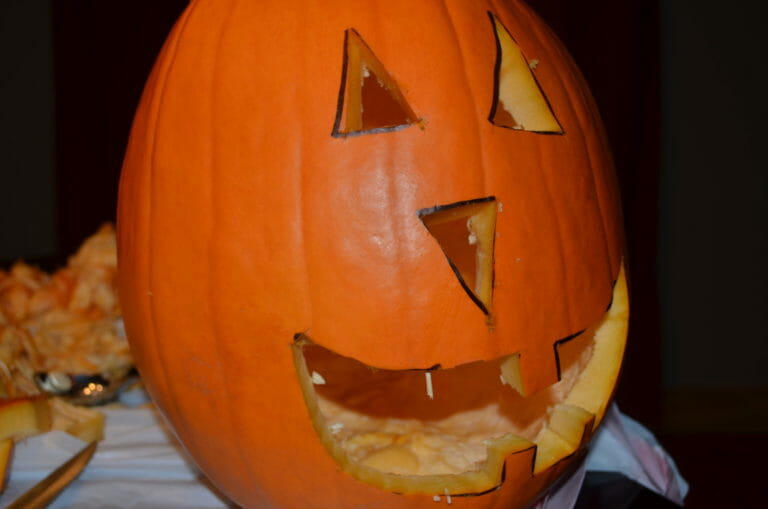
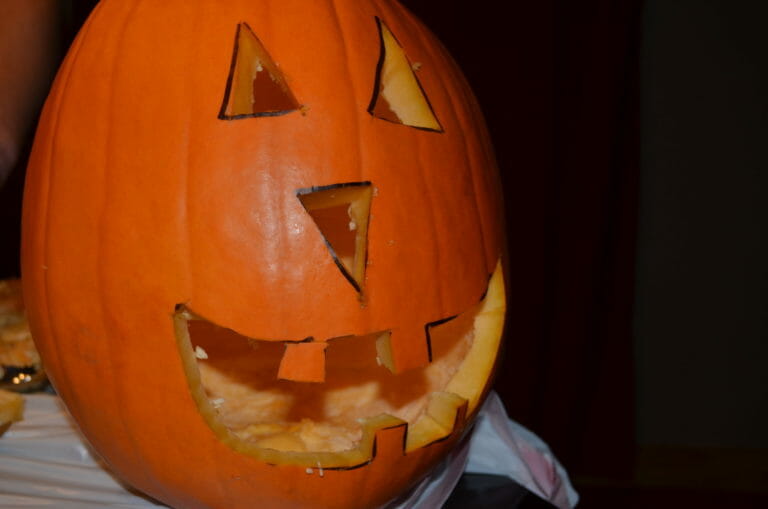
- Fingernail Polish Remover can be used to lighten extra marker or pen marks left after carving.
When it’s time to clean up…
- Toss the kitchen utensils in the dishwasher.
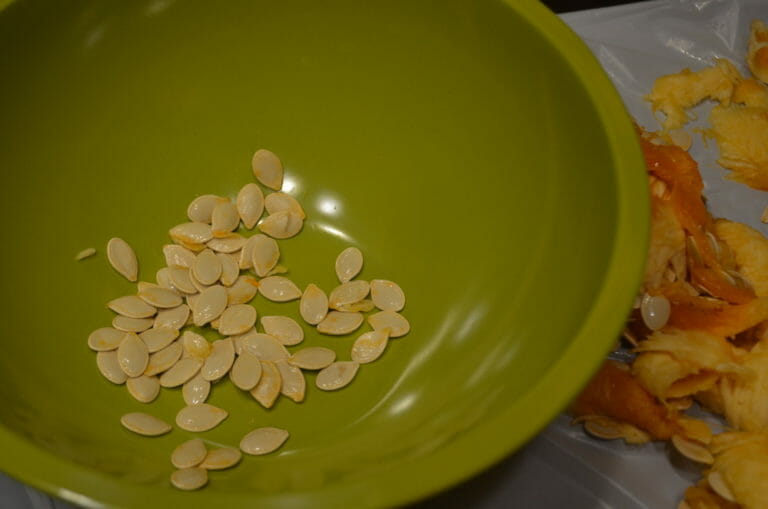
- Separate the pumpkin seeds from the pulp and put them in the mixing bowl. Set them aside to use for our Baked Pumpkin Seed Recipe.

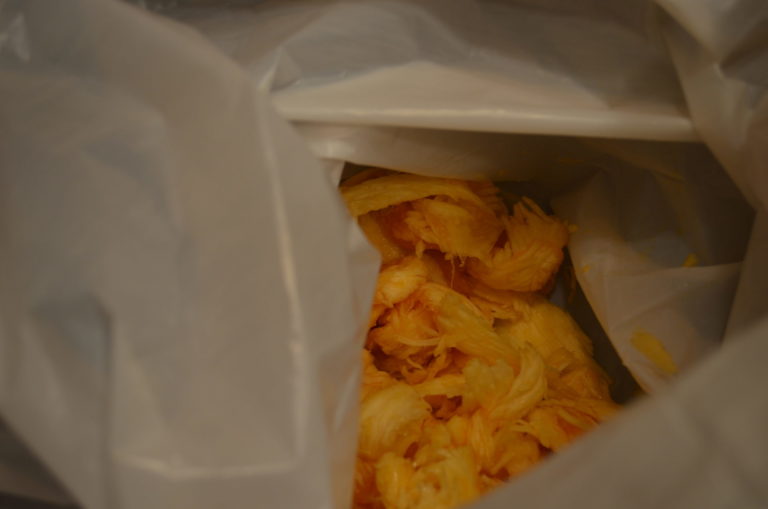
- Turn the garbage bag work surface with all of the pumpkin pulp and removed pumpkin sections inside right and throw away.
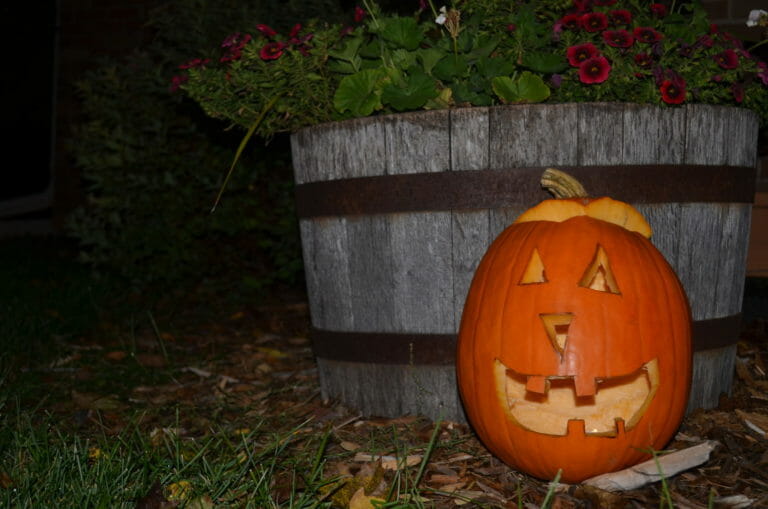
Happy Halloween!


